
Time for another savory post on Dessertaholics! I don’t normally order fried rice from the Chinese restaurant when husband and I decide to eat it for dinner, but I’ve made it for dinner because it’s a great one-dish recipe. I don’t remember where my previous recipe came from, but now that I’ve found this recipe from Gimme Some Oven, I’ll never make another one!
Ali’s original recipe is for plain fried rice with no protein; I added the chicken. I also made her already simple recipe even easier, and sized it down for only two servings. I apologize in advance for not having step by step pictures of my dinner-making process, but trust me, you don’t need them!
Gimme Some Oven Fried Rice, Alyssa Method
Butter
1 egg, beaten
1.5 cloves garlic, minced
1 bag frozen mixed veggies
1 package of instant rice, chilled (2 cups)
Soy sauce to taste
Splash of sesame oil
If you’re adding a protein, make that first and set it aside. I diced up two chicken breasts and stir-fried them in soy sauce. If you want to make this recipe even easier, use pre-cooked chicken! Then microwave the veggies according to the directions, and put them in a bowl.
Put a little bit of butter in the pan and melt it, then scramble the egg. When it’s finished, put it onto a small plate and set it aside.
Add more butter to the pan and stir-fry the garlic for a few minutes, then add the veggies. Put in another sliver of butter, then add the rice and soy sauce. Continue stirring for about 3 minutes to make sure the rice gets nice and fried. Then stir in the eggs (and protein, if using) and finish with a drizzle of sesame oil.
I’m reposting these helpful hints from the Gimme Some Oven page, because I think they’re key to getting this dish right.
1. Use cold rice
I don’t know why it works better, but it does. I microwaved my rice a few hours ahead of time and put it in a bowl in the fridge, but you don’t need to do it more than 15-20 minutes in advance. Just make sure it’s not warm.
2. Use butter
Don’t be afraid of the butter! You don’t need to use very much, and the flavor is much better than oil. I think using oil instead of butter is one of the reasons my previous fried rice attempts didn’t come out quite right. Those hibachi places know what they’re doing!
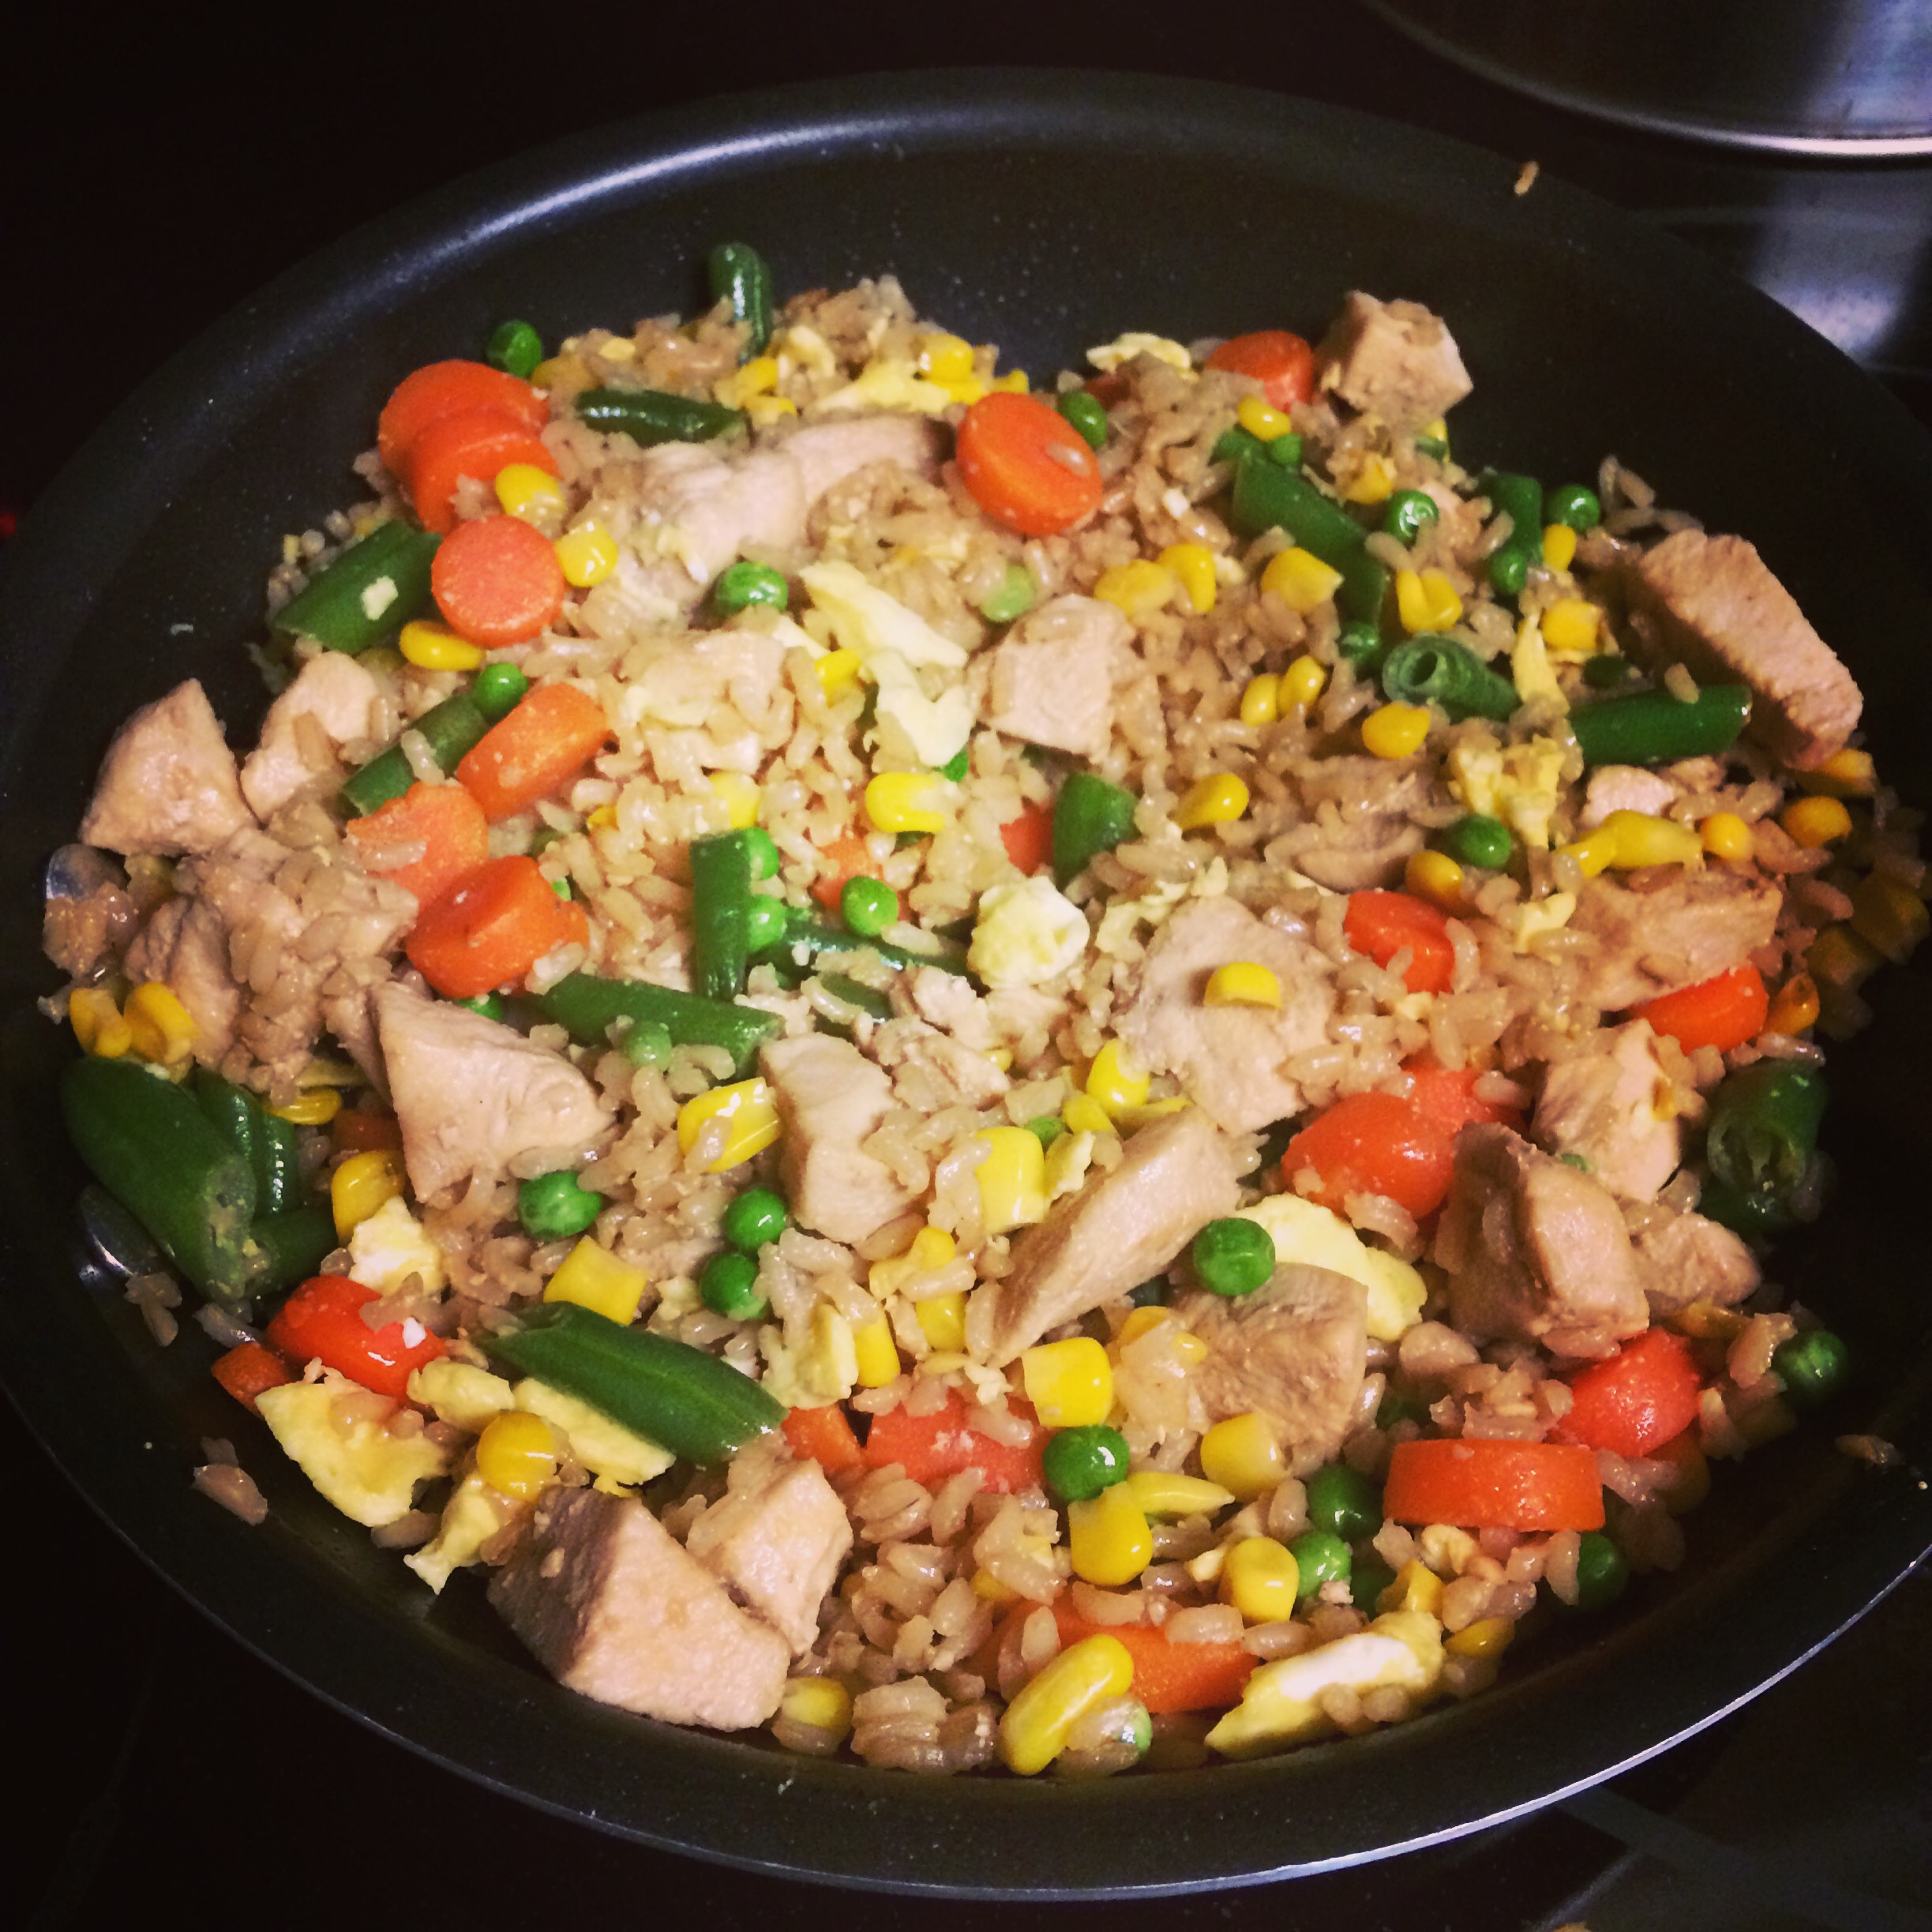
3. Don’t leave out the veggies
I LOVE frozen vegetables. It doesn’t get much better than fresh, ready-made veggies that you just have to nuke for a few minutes. Ali’s original recipe uses onions, peas, and carrots, which I’m sure is delicious, but I generally don’t cook with onion (for a few reasons), and a bag of frozen mixed veggies has carrots, corn, peas, and green beans! Colorful and yummy!
4. Take time to actually fry the rice
My previous recipe had you merely add the rice to the pot at the last minute, stir it around, and then call it done. Don’t fall into this trap! Just take three or four minutes to fry the rice along with the other ingredients. It changes both the taste and texture of the dish.
5. Use sesame oil
Ali says to use oyster sauce as well as sesame oil, but I didn’t. I just didn’t feel the need to buy it, since I don’t know what else I would use it for. But I had sesame oil from a previous recipe, and let me tell you, it makes a HUGE difference. This is the last thing that was missing from my previous fried rice attempts! It really pulls the dish together and gives it that Chinese takeout feeling.
And that’s it! Let me know if you make it, and what tweaks YOU made to the recipe!


